Wednesday 11 May 2016

Scratch--Fractured Fairy Tales

Scratch- Digital Stories---Fractured Fairy Tales


Last year, I used i-movie and audacity as the format for students to make our digital story about Alberta, and I was looking for a new “hook”. In December, I was introduced to the program Scratch and I became interested because of the emphasis on coding that I had been reading about.  I didn’t just want to plunk the program in front of students and say here, construct a story. It was important for me to know how and why I was using it before I gave it to students.  I went to a session at Teacher Convention, I talked with team members and with teachers from other schools in order to learn how to best use and implement scratch.  As it turned out I should have just set in front of students and allowed them to “play”.

I had wanted students to use Scratch as the format to tell their story but it didn’t have the features students were wanting such as changing backgrounds to fit their voice and so students suggested they use Scratch to tell their fractured fairy tale.

Our “Scratch” Journey

Step 1: Students participated in the robot activity where they learned that they had to give, “code” specific instructions to get their partner to walk a square.  This activity helped students to understand that when coding they need to “code” every step because their robot won’t know what to do.   Students had some idea of how coding worked because they had used Mindstorm Robots earlier in the year.


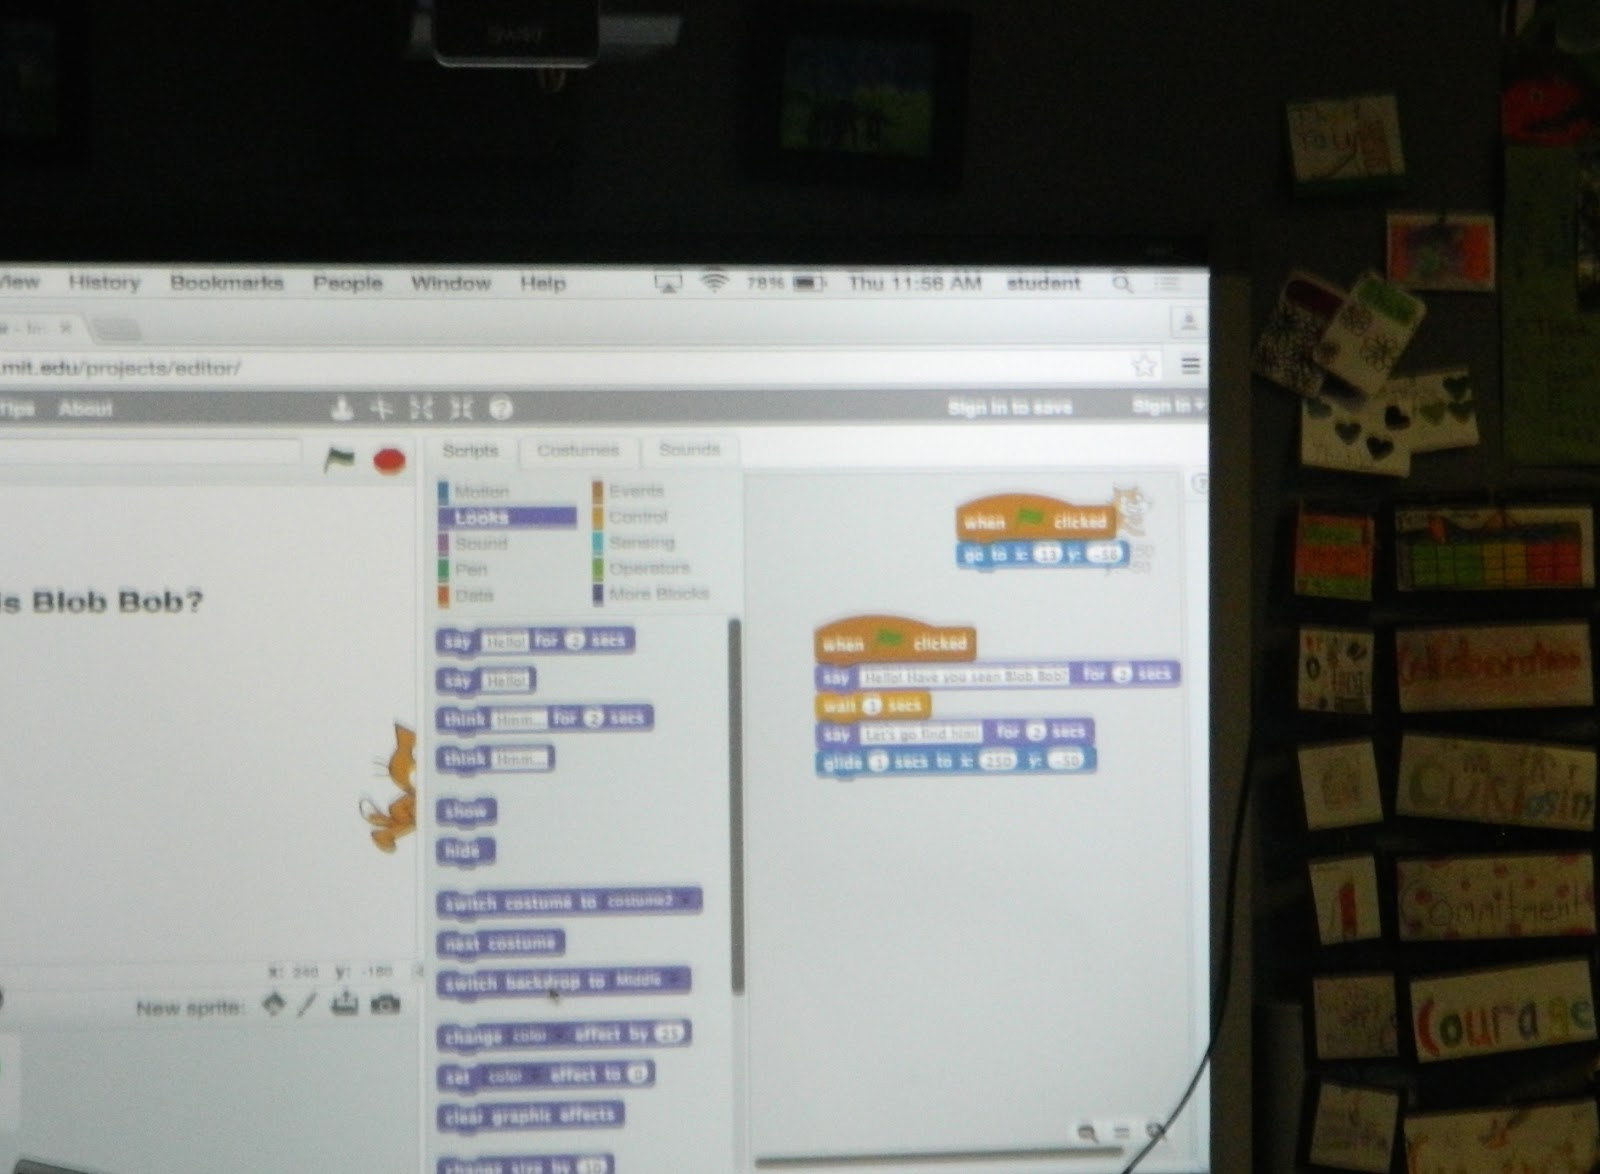
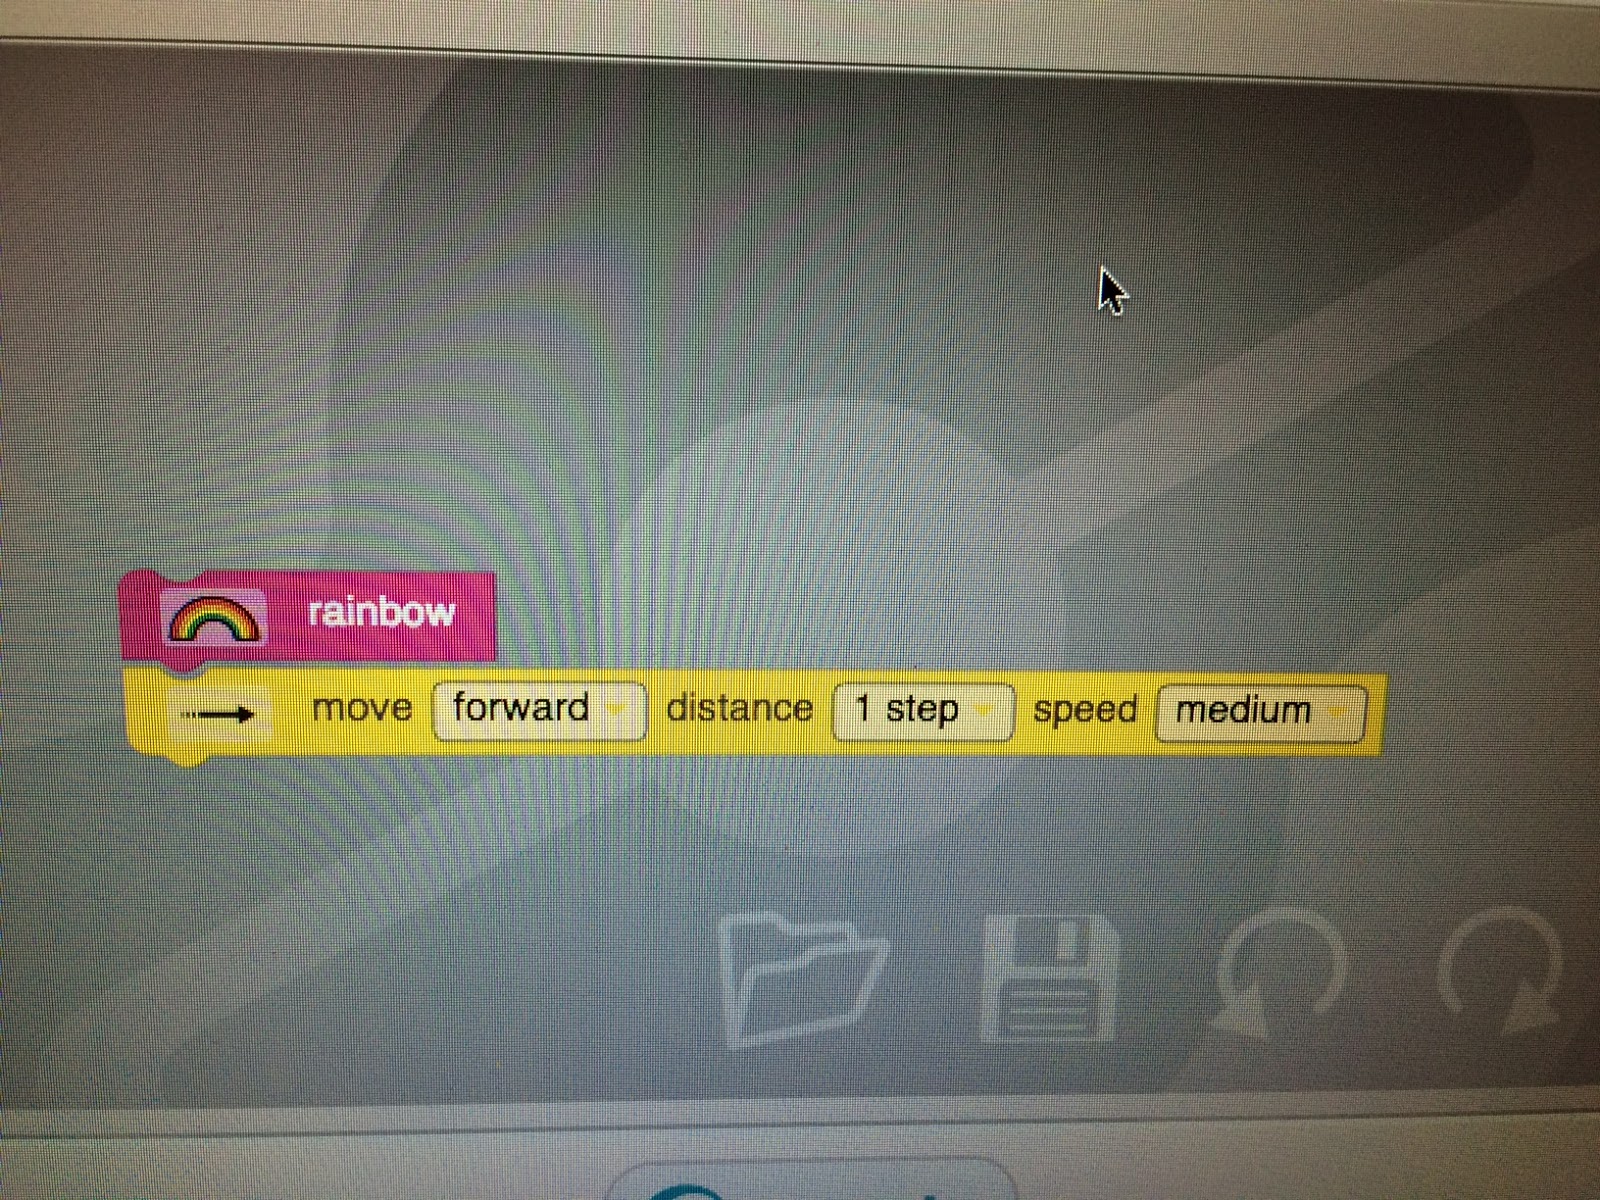
Step 2: Students were provided a brief tutorial on how to use Scratch. They were shown the different features and the basics.
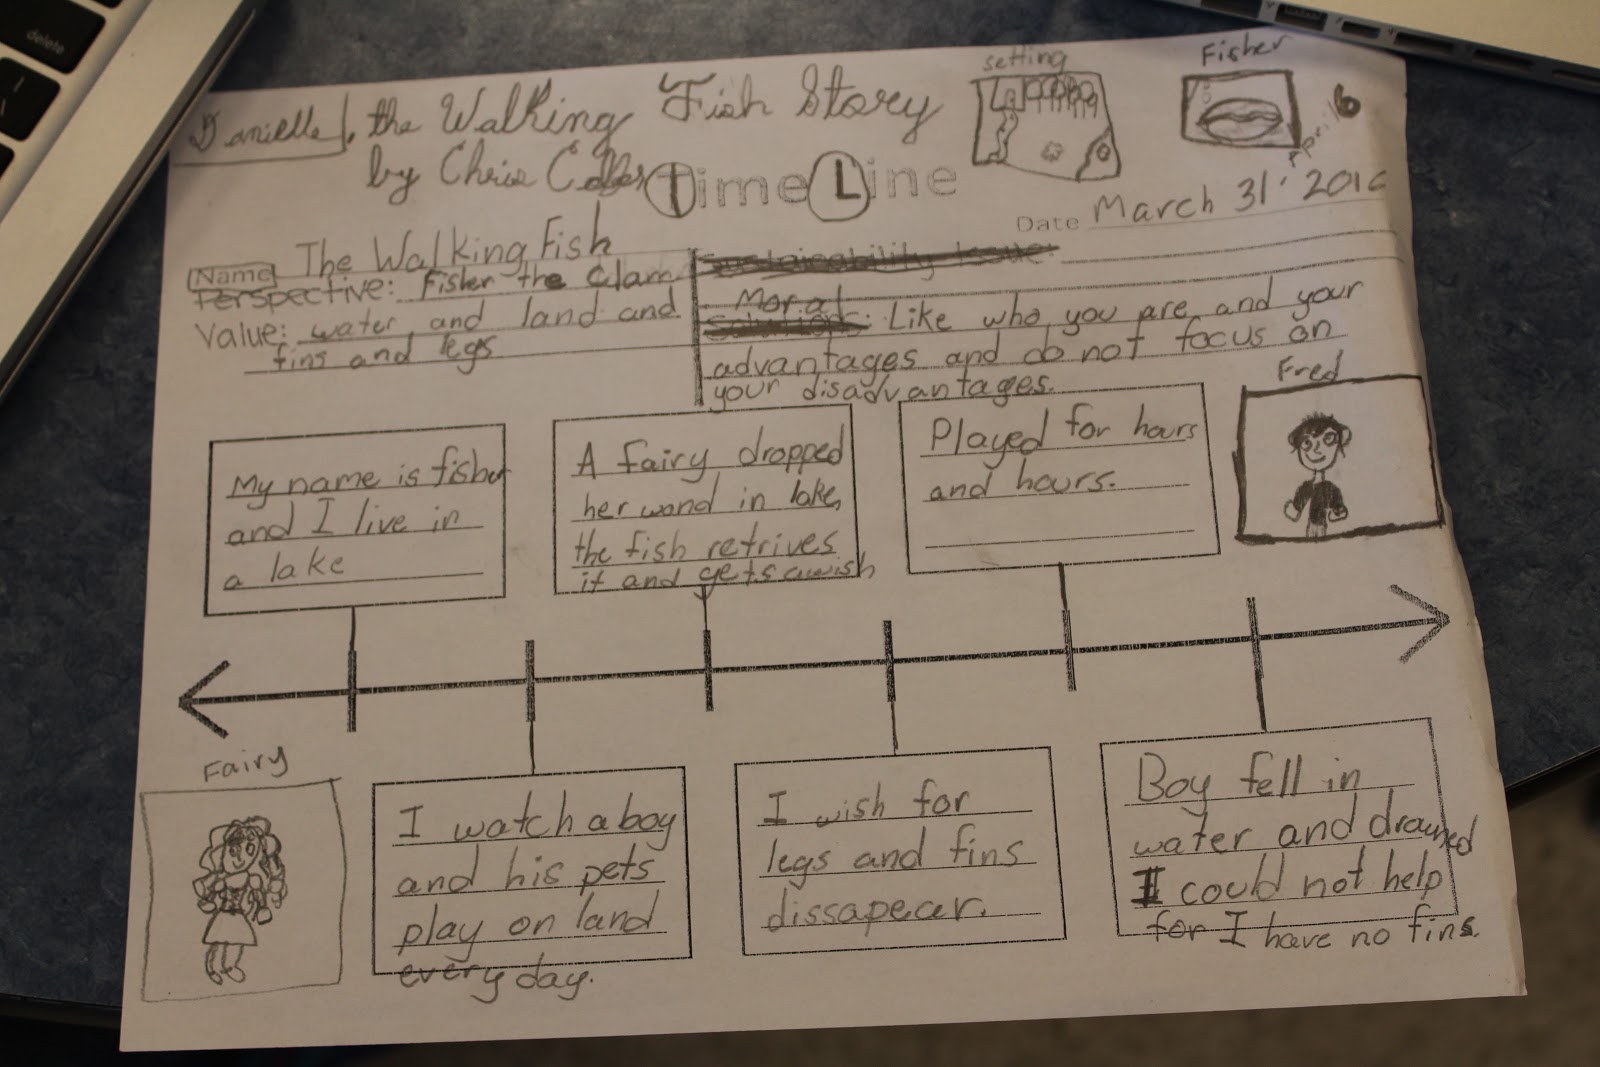
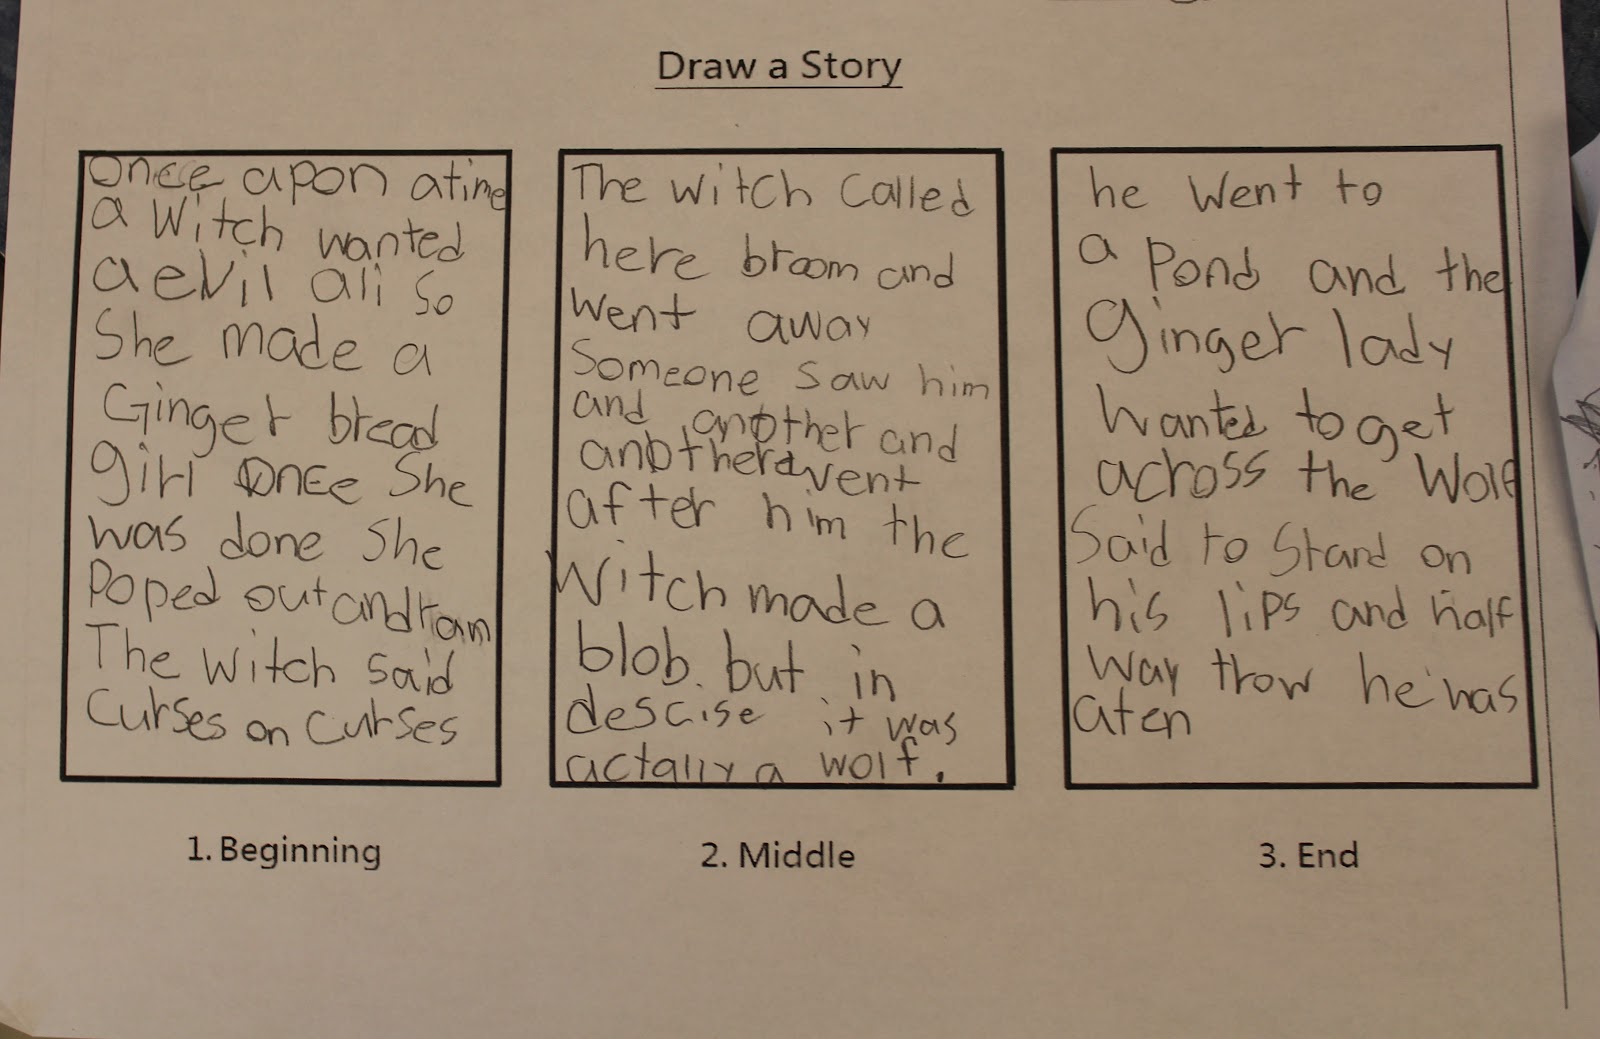
Step 3:  Students were taught what a fractured fairytale was and were provided a graphic organizer to help them plan their story.


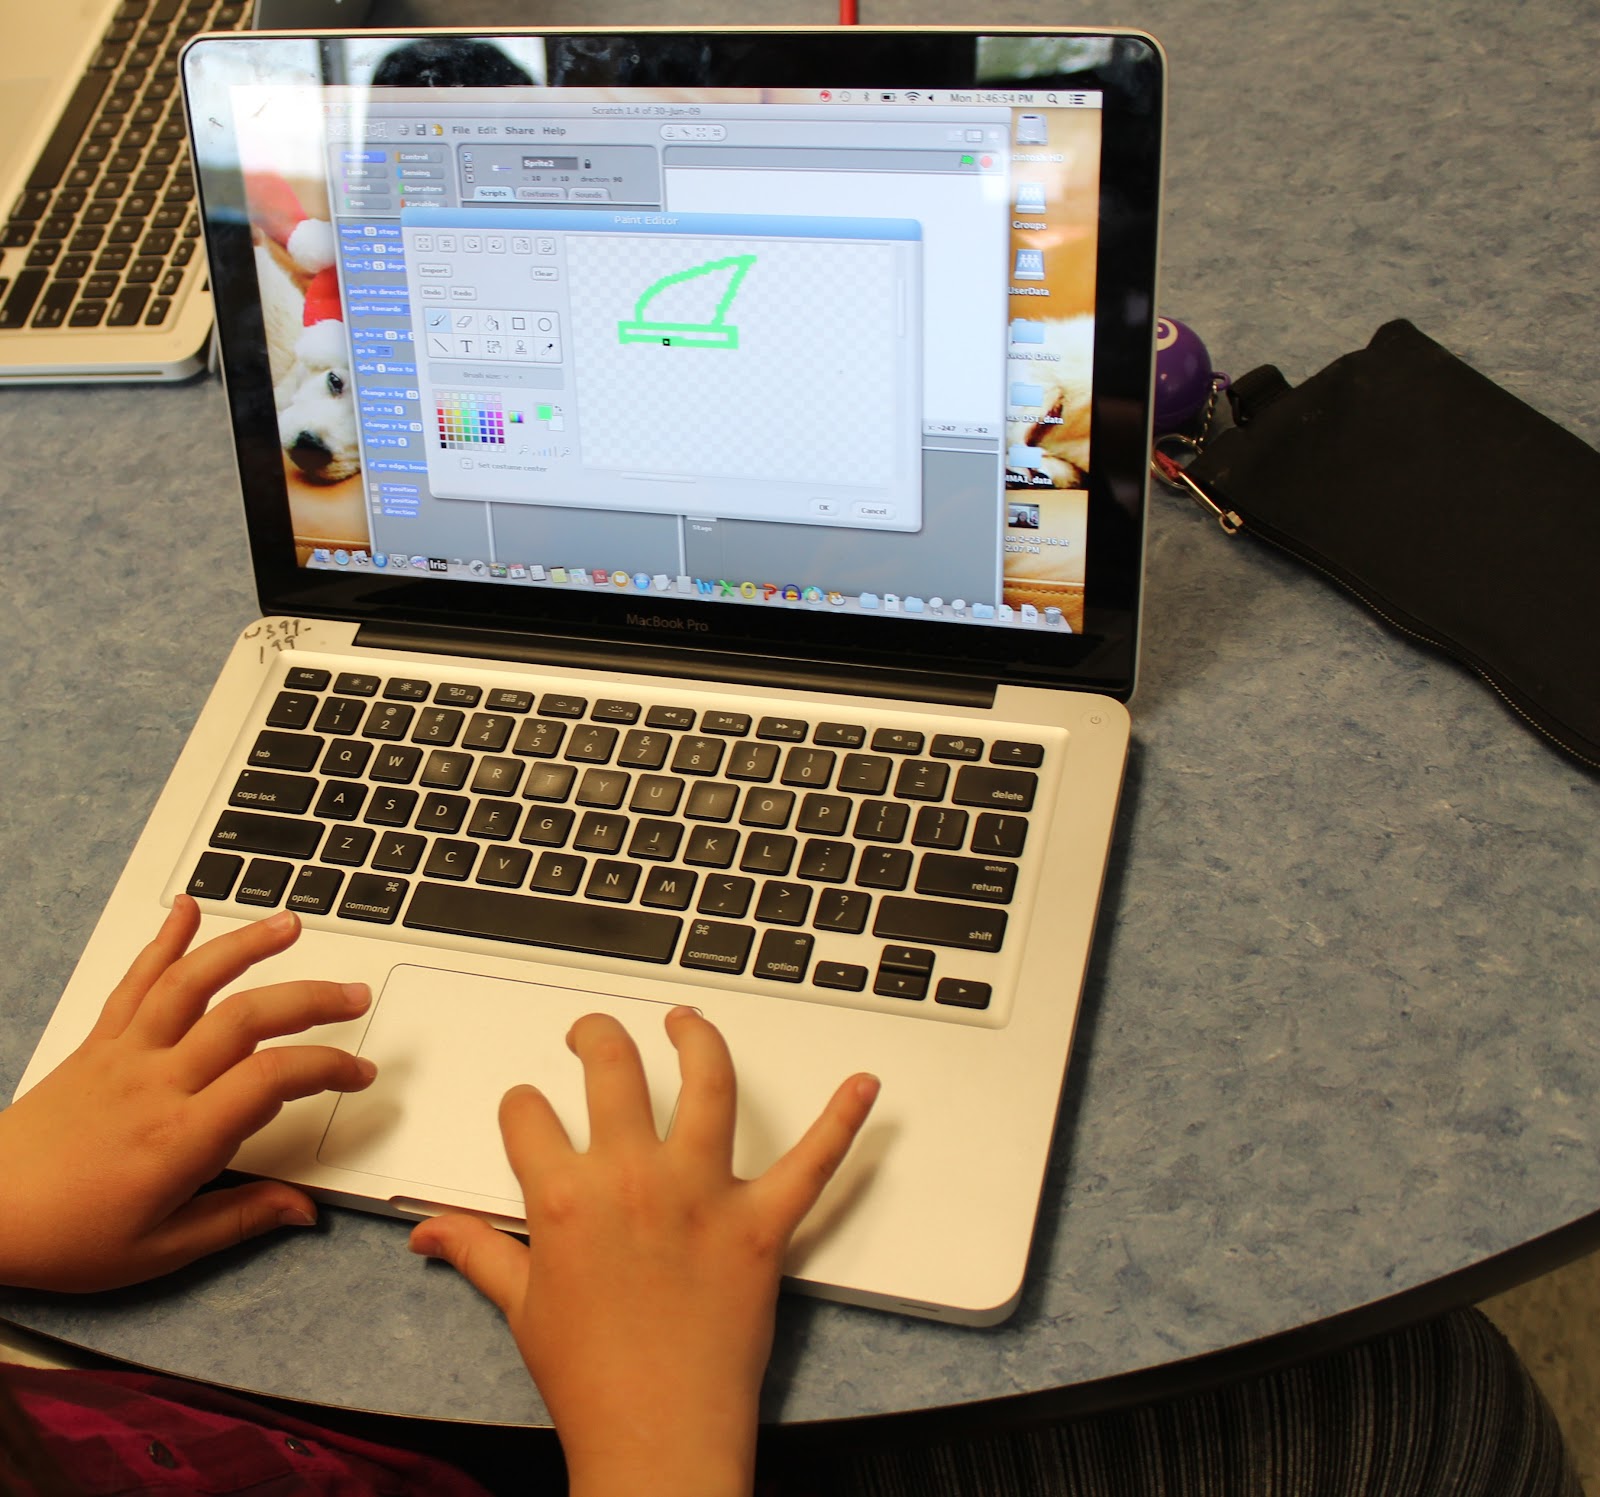
Step 4:  Even though I thought they needed more instruction, I gave them a computer.  Students explored and experimented with the program.   They did an outstanding job.


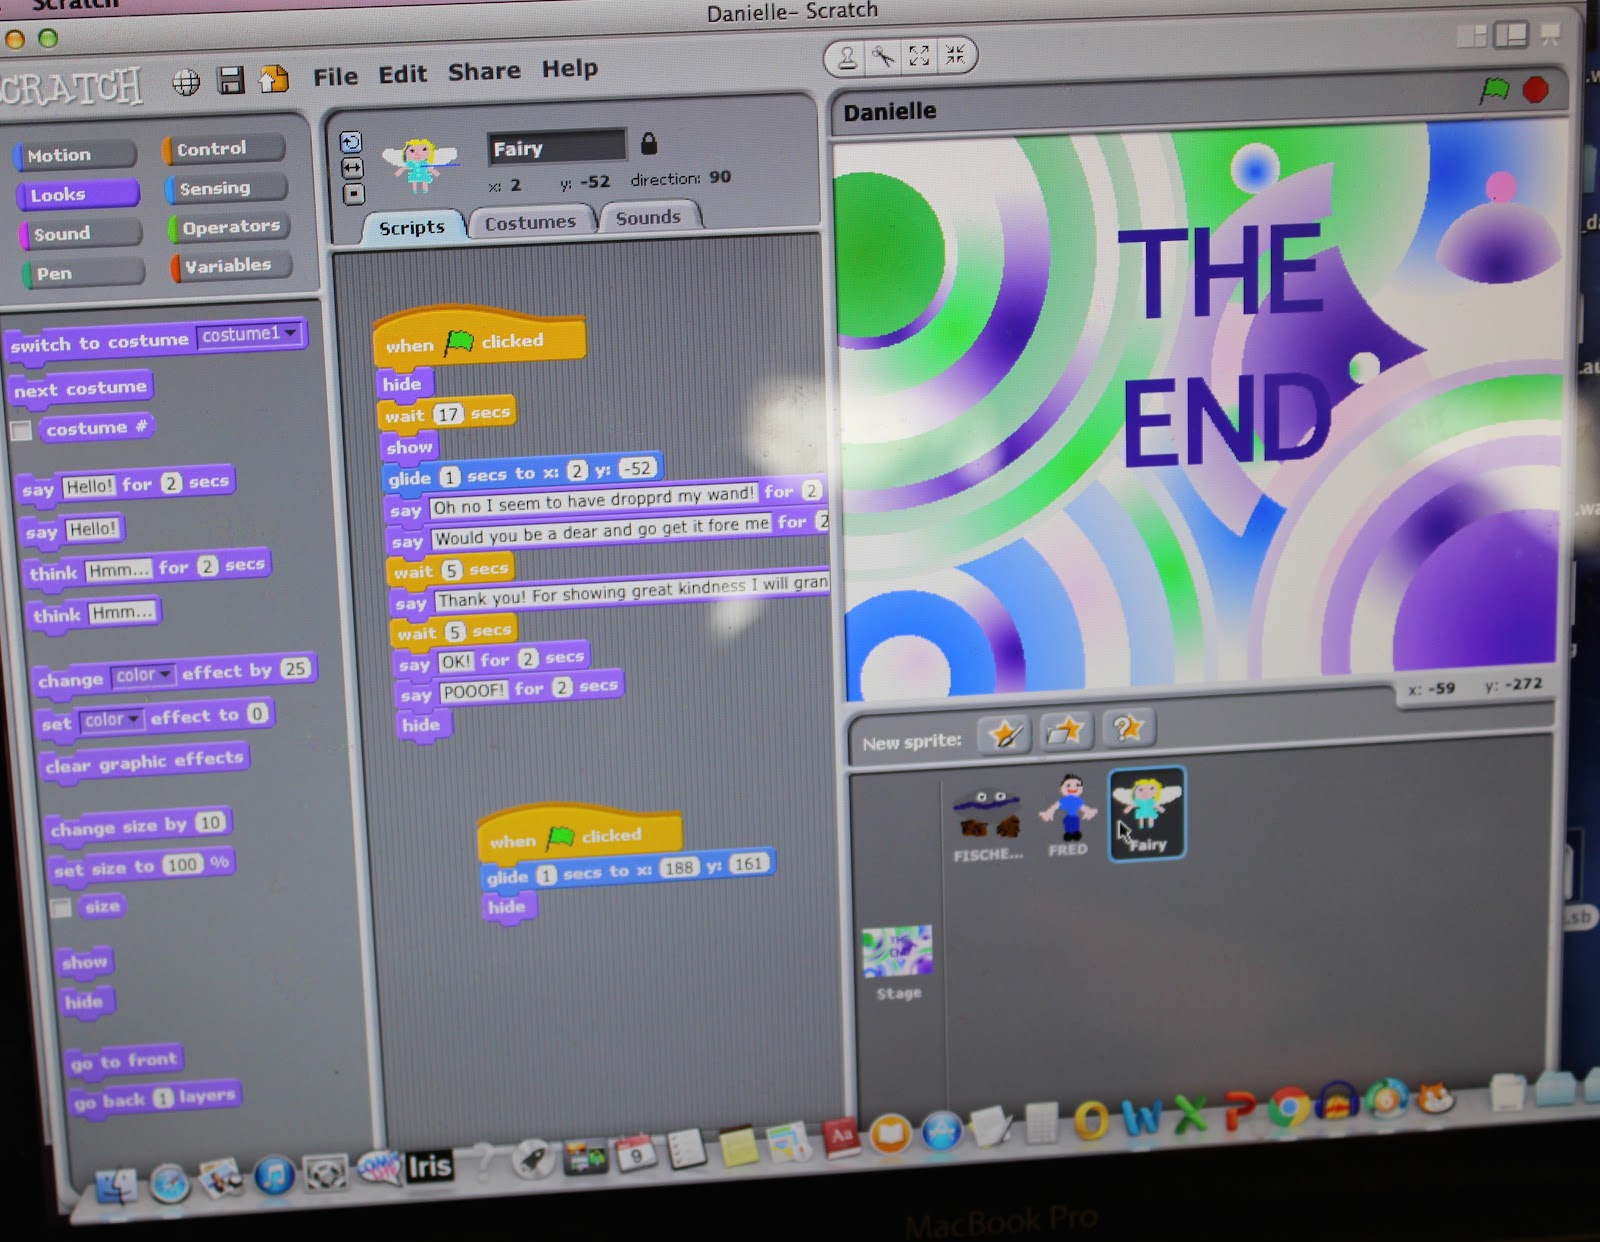
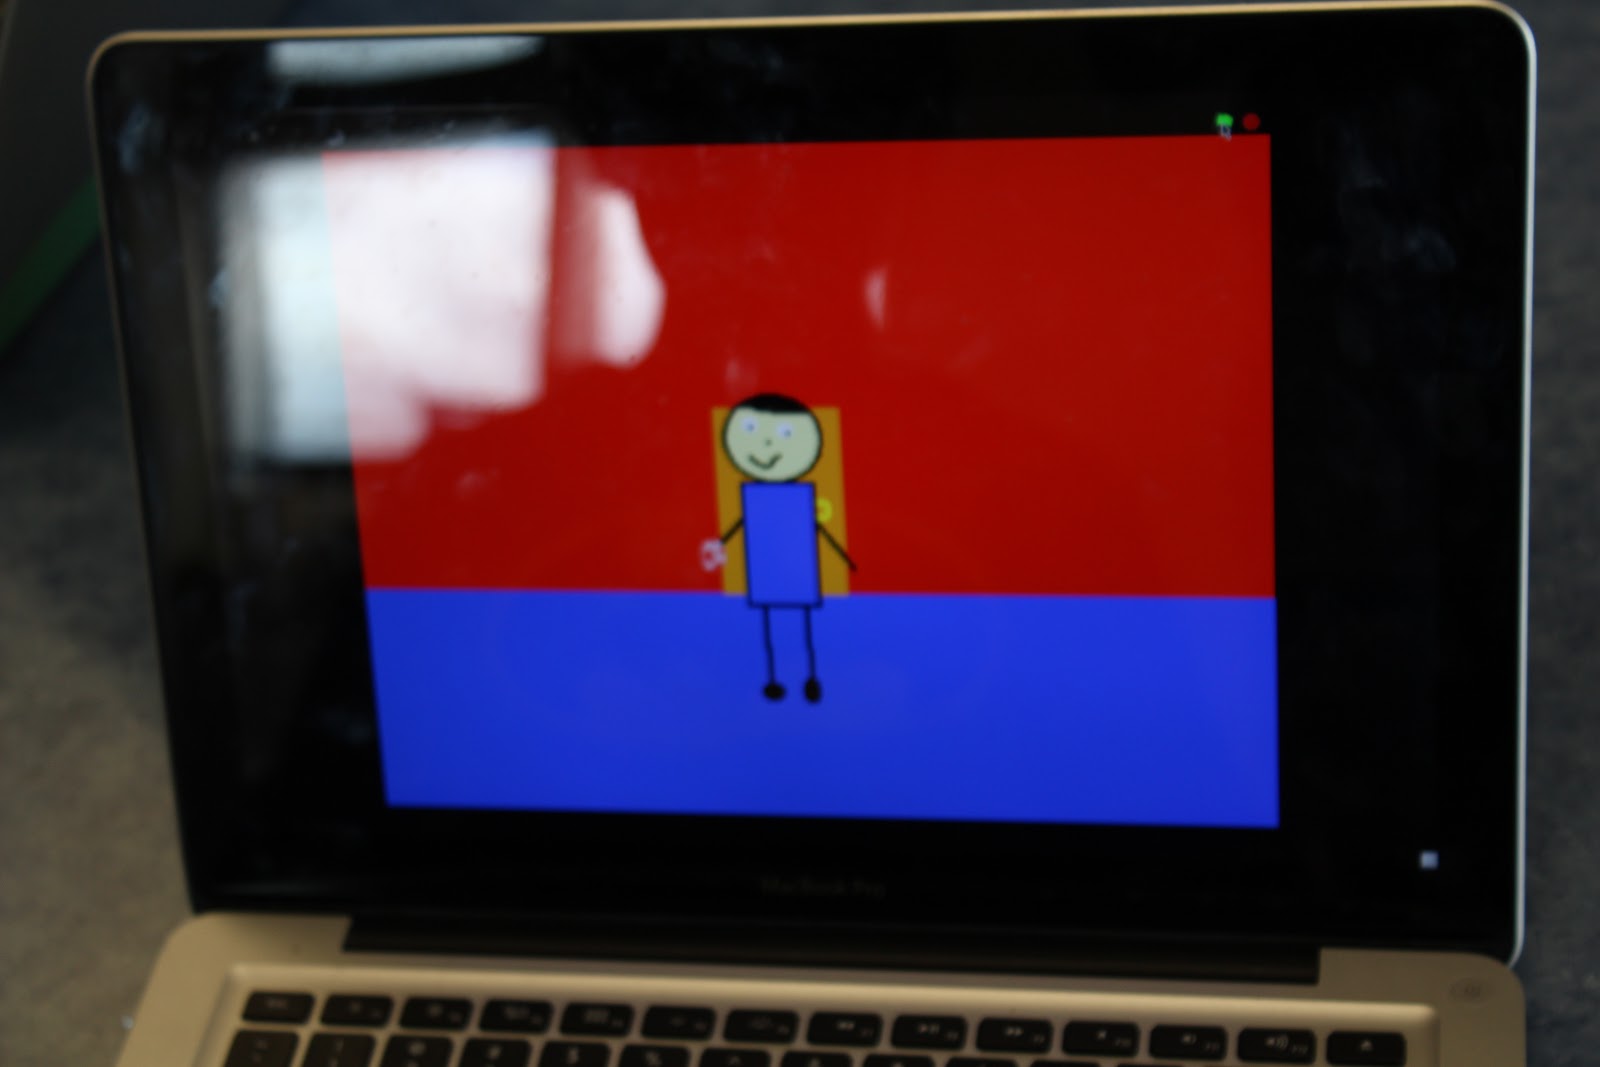
Step 5: Armed with the knowledge of how to write a fractured fairytale, a graphic organizer and a program to share their story, students were off.   Students helped and supported one another and they were able to create a story.


I learned that even though I didn’t understand each part of the program, students were motivated to learn on their own and to teach me.  I still have lots to learn about how to utilize Scratch but it was fun to use a different program.  

Sunday 8 May 2016

The Great Ozobot Perimeter Race!


             As time has gone by this year, it has become apparent that my students respond well to the programming opportunities that they have been presented with.  While building their understanding of area and perimeter, it was time to revisit my very first Ozobot lesson.  I created this lesson about a year ago.  This year, with the development of the Ozobot Bit and the Blockly programming language, it would extend even further!

The Challenge:

          Students were given the sheet below and  grid paper for planning out the possible perimeters for the given area.  Students did steps one and two on their own and support was given as necessary. 
You can download a copy of the lesson plan by CLICKING HERE.
The Process:
            Students took their planning seriously and worked to figure out all of the possible dimensions for the area of 32 units squared. Below is one example of the kind of work the students produced. 


           From there, they worked to calculate the various perimeters.  Sharing their findings with a partner, they decided which perimeter would be optimal for the Ozobot to travel around the most times in 1 minute and 30 seconds.  I asked them to explain their reasoning.


          The next phase of the project had students design and test their Ozobot course.  They drew out the perimeter they thought was the optimal racing track.  Students needed to remember to make the line an appropriate thickness and ensure that there were no lines that surpassed the corners, as those could have confused their Ozobot.

         Most students determined that the 6 by 6 square was the best option.  The students who didn't choose this one came to the realization that their choice was not optimal when testing their chosen perimeter against that of their partner (who had a 6 by 6 square).  As students began to test, they asked if the Ozobots all had the same speed.  Since they hadn't been calibrated, we quickly adjusted that so that we had a control.  Then, testing began and students recorded the number of laps on their sheet and compared with their partner.


This student recorded the start and end positions of their Ozobot.

Extending the Learning:

          This year, with the development of the Ozoblockly coding, it was time to give my students an additional challenge.  I asked them to create a program that would draw out the perimeter of 36 units squared.  The eagerly accepted the challenge!  As they began, some interesting questions arose for discussion.  Do the steps in the Ozoblockly program match the grid squares? How far is one step? Is there a way to program the distance without using steps?

    I was delighted with the critical thinking that was going on and returned their questions with another question... How are you going to figure that out?  


This student programmed one step and ran the Ozobot to see the distance.
              Not every student approached the obstacle this way.  Another student discovered a higher level of programming and experimented with mixing the levels of coding to get what he desired. He measured his original drawing and input the data in to the program.  He, as well as many other students, decided to use the "forever" loop in order to run the Ozobot uninterrupted for the full 1 min and 30 second time limit.  Once the program was complete, it was uploaded into the Ozobot Bit and away they went, comparing the results to their original paper course design. 


          Since this was the second year that I have run this activity, it was nice to take it to another level and add in the Ozoblockly programming.  Not only did students develop their understanding that a given area can have multiple perimeters, but they also problem solved to get through the translation of their paper and marker courses, to the Ozoblockly program. 

Tuesday 19 April 2016

Coding and Writing

Insights Gained: The last session I thought was really helpful to my understanding of how to design a STEM task.  The Designing for Intellectual Engagement template was a really good tool to go through.  It helped you clarify the connections to the Program of Studies, clarify what you wanted students to know and do, create your sub tasks, and plan how you will assess the learning.  When I went through connecting my “learning task” back to the Program of Studies it was neat to see how cross curricular STEM projects can be.

Code.Org as Writer’s Workshop

One of the challenges I have is that my role is currently more around the literacy piece.  Therefore, I attempted to design a STEM style task that could be used as a vehicle to teach writing.  One of the things I’m tasked with doing at my school is implementing a writer’s workshop in each classroom.  Part of our school development plan is to write across the curriculum and develop our writing for problem solving.  To this end, I am combining the basic skills of coding with writing and analyzing the similarities between the two forms of communication.  The students are developing a video game using Code.org and writing up the manual to go with the game.


Step one was that I went through the Code.Org coding challenge process while the students watched, answered questions, and provided suggestions.  Step two was to have the students explore Code.org on their own: moving through the coding challenges and developing a basic understanding of the coding skills required to design a game.  Throughout these processes I tried to teach some coding vocabulary such as algorithm and statements.  We then did a comparison of the purposes of coding and how it relates to writing.  At this point I will model, using a video game that I have designed and a template that I have developed, how to translate their game into the writing needed to create a manual to go with the game.  The next step is to have them work at designing their game while simultaneously filling out their manual template.  I will have them do their writing piece before they finished their video game design.  Since the coding is more exciting, the written piece has to be approved before they can get back to the coding.  They will finish the design of their game and complete the finished product of their manual.  As a culminating activity, they will show their grade one buddies how to play their video game.

Friday 15 April 2016

Our Bee-bots Have Arrived

The day it arrived, all shiny and new, I realized that Ms. Bee-bot would be a permanent resident in our class.   The kids were ecstatic about putting their ideas of how to create our t-shirt patterns to the test.  They pulled out the arrow patterns that they had made and began testing. 
 
They tried.
And as expected, they failed.
 
And tried again.
 
And still they continued to have difficulty.
 
 
But once again, one of the most withdrawn students in the class, may have figured out how to make this work.  It amazes me who is able to figure out this programming business!
 
Once my practicum teacher completes her time here, I will revisit this and I hope they discover how to solve this problem.
 

Wednesday 2 March 2016

Can they transfer the skills they learned?


It was interesting to start this with the ‘dumb robot’ lesson.  I realized that for most of the students, their only connection with robots was with cartoon characters that could walk and talk and think.  I had to give them a background on what a ‘dumb robot’ really was.   
I found a video of a toothpick factory in action to help them understand what a robot may actually do.  Never assume anything with a 5-year-old!
 
 
When we went back to the ‘dumb robot’ lesson, I they continued to make assumptions that the robot knew which way they were pointing, knew what ‘follow me’ meant, and knew what a square was.  I even had to have a group really think about the difference between ‘standing on a square’ and ‘walking in a square’.  Finally, after letting them suffer through it, I heard one child say, “Fine!  Then go left then!”  Ah, ha!  Surprisingly, it was one of the students who has difficulty recalling the words they need to communicate effectively with others.  I almost hit the floor! 


 I was so proud of him and the class all gathered together and completed the square under his direction. 


They went back to their partner and tried again using his technique.


From there, students were given the problem, how would you have a robot make this shirt in a factory.  I am waiting for a Bee-bot to arrive, so in the meantime, I introduced them to the arrows that they will need to use in order to make the Bee-bot complete this task.  I sat back and watched them figure this out. 
 
 
Some are thinking that they continue to make it turn. 
 
 
Others are forgetting that they need to tell the robot to turn.   (This child was yelling at the other one that she needed to add in a turn!)


Most are thinking that if they just tell a robot to go up and down, they will achieve the desired result.  One very wise group is actually acting out the actions that the Bee-bot will take.  My hope is that this will become an effective performance task that requires transference of skills in order demonstrate mastery.  Until next time, to be continued . . .

Teaching Angles Using Angry Birds


March 2016

As a Learning Leader, I am currently working with three grade 6 teachers and leading the design and implementation of a Math unit on measurement with angles.  We decided to use Angry Birds to hook the students.  We have had great discussions with the students about all the things that can be learned from the game.  Students have been challenged to design their own Angry Bird type game using a variety of angles and measurements and to follow a game development process.

In order to develop the mathematical concepts, we sent students in small groups around the school with digital cameras in search of angles. After printing out and sorting their photos into groups of similar angles, student discovered the four main types.  We will continue to develop understanding of the concepts needed for the project through a variety of methods of practice.

Once students have an understanding of the mathematical concepts, they will then begin designing a game level on paper, incorporating targets (pigs) and figuring out the angle and measurement needed for the projectile (birds) to hit the targets. After this part of the process is complete, we will then introduce the students to basic coding using Code Studio in order to create drawings of a variety of angles.  Students will also be introduced to Scratch to create a simple Angry Birds type game.


Sorting photos taken by students of types of angles found around the school

April 2016

Students have now completed their artistic designs of a level of an Angry Birds type game. See examples below.


Students also learned how to use block coding (Code Studio) to create a picture of an object or pattern that included at least four types of angles. See example below.


After this part of the process was complete, students were introduced to Scratch. Many students took on the challenge of trying to code a simple angle-type game. Some students are so "hooked" that they are working on their coding skills and game development in their spare time and at home.

Insights
Throughout the project, students showed a high level of interest and engagement.  Students came with prior knowledge of the game as many had already played it. By following a video game development process, students saw a real world application of math concepts. Students who struggled in the past on other projects, performed exceptionally well in this project.  In fact, one of the best drawings using block coding was created by two ESL students with very little English language skills.  Many students chose to and enjoyed working in small teams and saw the benefit of how their team members ideas and feedback can help design/create a successful product. A pre-test on angles was given at the beginning of the project. Post-test results showed an improvement in knowledge and understanding of angles for all students.


IO Stem Series Project Post from Erin Woods School

STEM Project:  Pallet Project


Project Process: With the Grade 4/5s at our school we worked on a pallet project with a small group meant to help construct furniture for our Learning Commons Area.  Students researched different pallet projects using Google and the website instructables.com. We then had students choose a project and use reverse engineering to design an item to be built with pallet wood.


The students drew up designs, following specific blueprint guidelines and then built a model with popsicle sticks. They then had to scale the plans so that they could be used to build the item with a full size pallet.  They spent some time measuring pallet wood to understand what the standard measurements are for this type of wood.

 Our school has teamed up with a junior high in the city and when the designs and models are complete, the junior high students will be building the items in their wood-working shop.

Learning objectives included measurement, understanding of perimeter and area, estimation, use of scale,and using measurement to solve problems.  Also included was using writing to problem solve and to explain thinking.  Students also worked on orally communicating their thinking process.  The iterative process of design was also explored and the students experienced this method of creating.

The approach to this learning problem included initial exploration of materials and concepts with frequent check ins on the part of the teacher to evaluate understanding and direct next steps.  Teacher used reflective questioning to get students to assess, to problem solve and help them figure out what they needed to understand to get to the next stage of the design.

Post project follow up included video documentation of students reflecting on their work and their results. They answered reflective questions about the process, the results, what they learned, and what they would do differently.